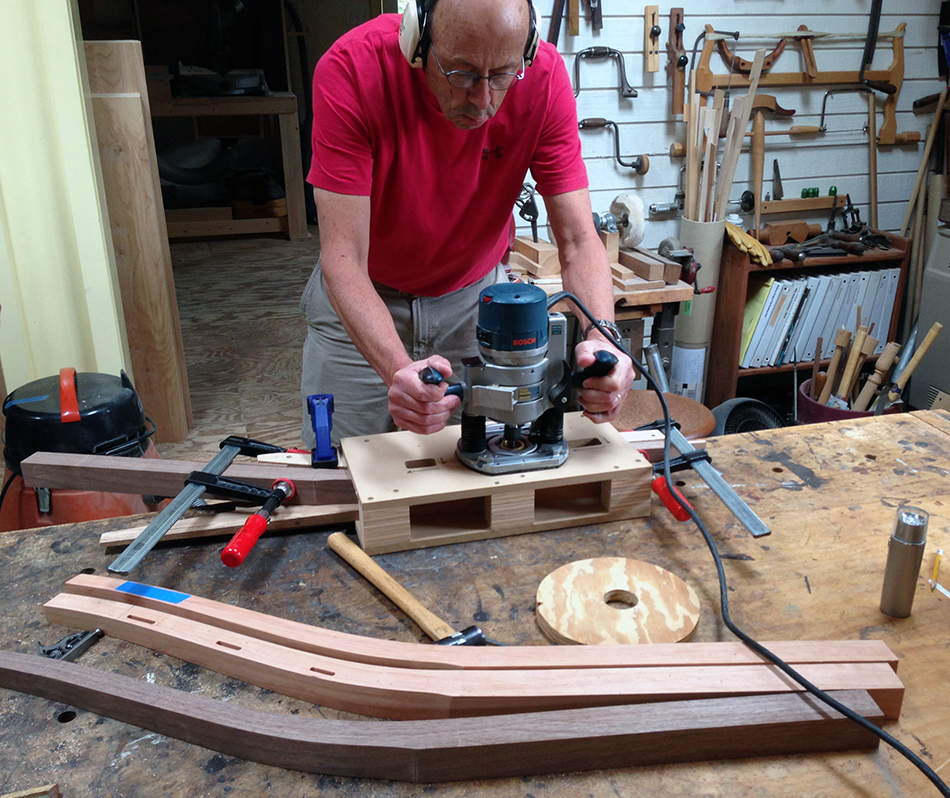
Day two begins with cutting mortises into the rear legs for the slat tenons. This is done while the legs are still square so that there is a flat reference surface. Here David is using the slat mortising jig to route the mortises into the tapered, inside face of one leg. For the opposite leg the jig is flipped over to the other side.
The rest of the day is spent fitting the slats to the rear legs. This simple jig rotates the legs 26°, holds them the correct distance apart, and puts the correct amount of side-to-side splay below the seat—the same position the legs will be in the final chair. In this position we can then measure the distance between the legs at each slat mortise and record the angle with a measuring jig. The information from the measuring jig is transferred to the slat blank and allows us to accurately draw the outline of each slat, including tenons.
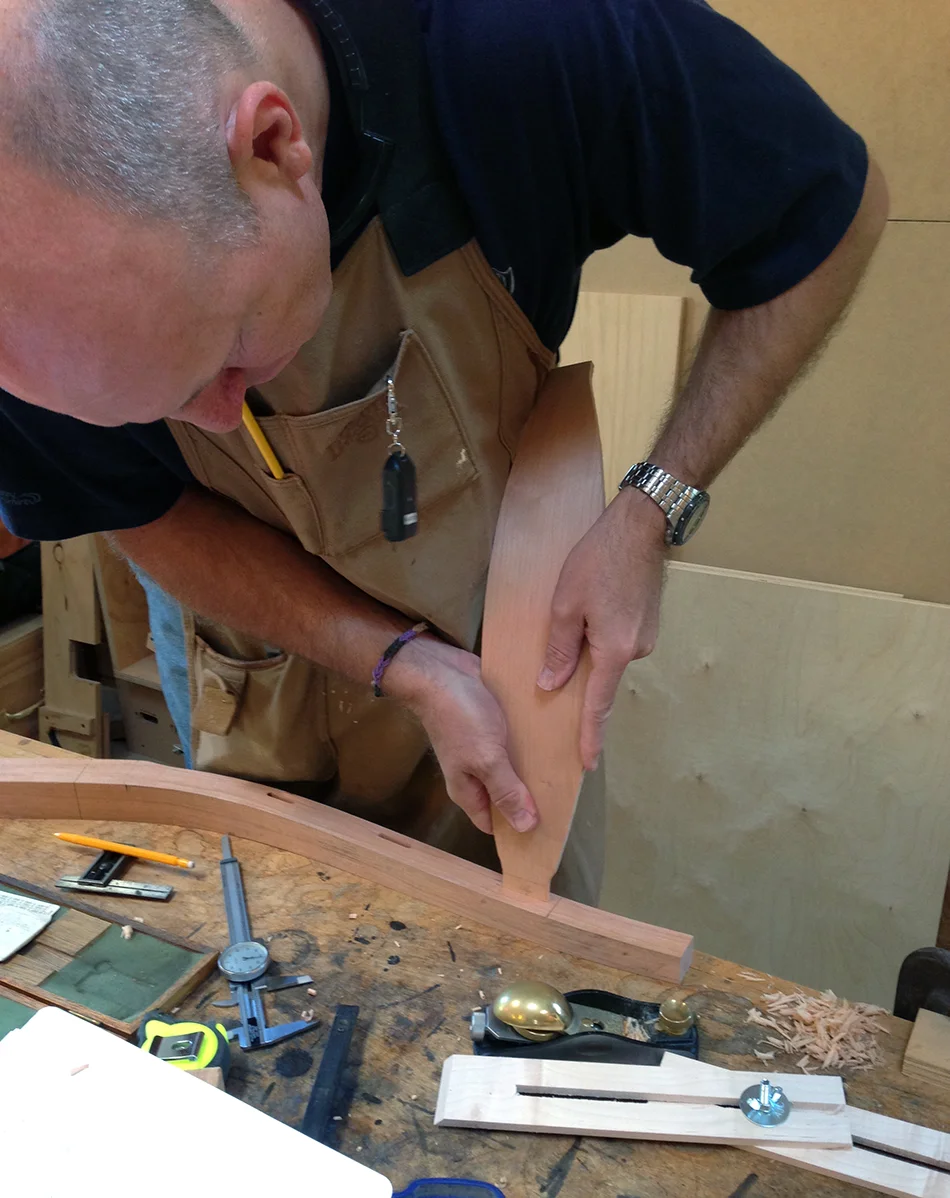
Once the slat outline is drawn and cut out on the band saw there is a very methodical process of fitting the tenon precisely to the mortise. The goal is to have the tenon fit perfectly the first time it is put into it’s mortise. Here Mark is ready to see how this tenon fits.
The process begins with fitting the top slat followed by fitting the bottom slat. We are not just concerned with how well the tenons fit into each mortise, but also with the distance between the legs at each rung. Here David is dry fitting the legs and two slats. Next he will measure the distance between the legs at each rung to confirm that the geometry of the rear panel is correct.
David and Mark are dry fitting Mark’s rear panel.
At the end of the day the fitting is complete. The individual parts, now dry fit into an assembly, are starting to look like a chair.
Tomorrow David and Mark will move on to shaping the front legs and rear legs. The process is done entirely with hand tools, specifically drawknife, a couple of spokeshaves, and a card scraper. Stay tuned.


