Even though I have fitted the slat tenons to the mortises in the rear legs there is still some final hand shaping to do on the main body of each slat. I will be removing the bandsaw marks left from cutting out the shape of the slat, fair the top and bottom edges, and cut a tapered bevel in the top edge. This bevel is another instance of a sharp edge in the design of the chair which contrasts beautifully with the many soft round shapes in the legs and rungs.
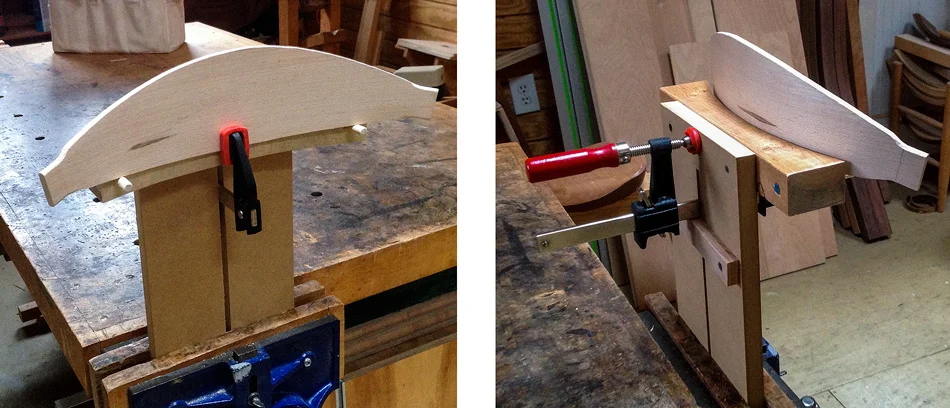
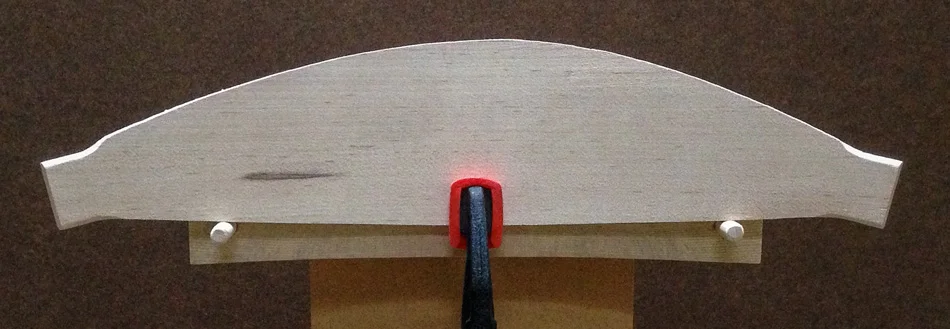
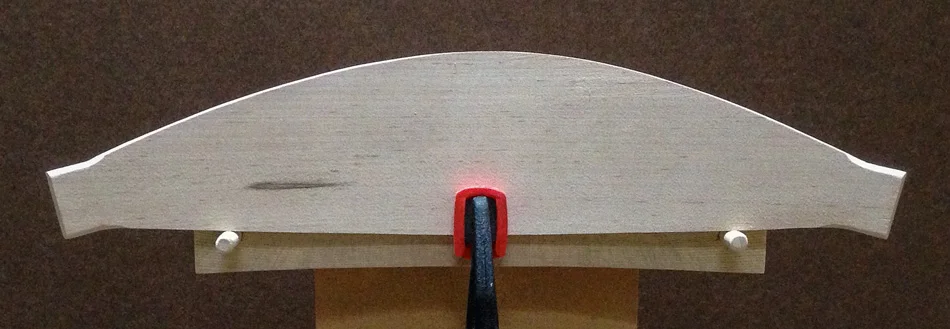
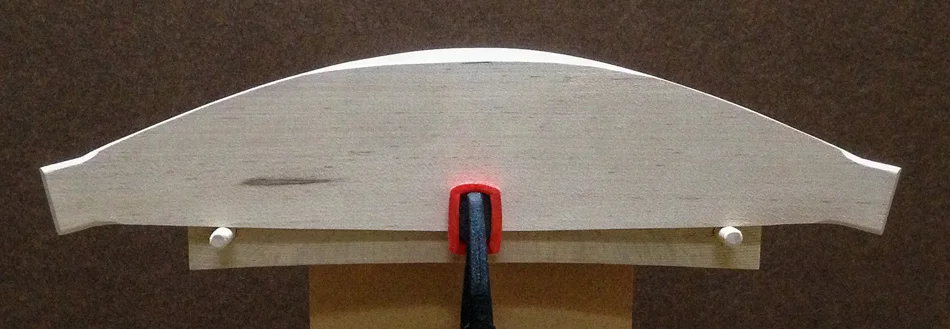
For many years I have been frustrated while shaping the slats by trying to hold the slat in the shave horse. Inevitably and frequently, because of the shape of the slat, the horse would lose it’s grip and the slat would fall out. One of my students, George Ingram, sent me some photos of a solution he came up with for holding the slats in a simple jig in a bench vise. Starting with his idea I modified the design until I arrived at this solution. It couldn’t be simpler — a long board with a slot that fits in the vise, a curved board to clamp the slat to, and a couple of pins to keep the slat from moving as I work on it. The curved board has a larger radius than the slats so each slat only touches the board in the center. Any clamp I have available that can slip into the slot of the long board will work. On the back is small rotating knob that keeps the clamp in the right position as I move slats in and out. The slotted board gets the slat to a comfortable working height for me and the slat is very firmly held in place making it easy work on. Plus, I can stand back and evaluate what I’ve done.
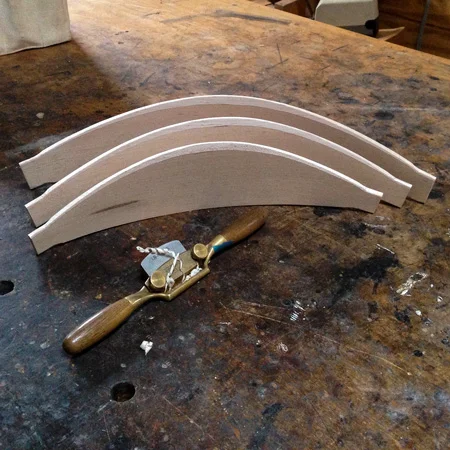
I do all the hand shaping on the slats with a round bottom spokeshave. Although I could use a flat bottom spokeshave on the convex edges, there are several places where I can only use the round bottom shave, so for efficiency I stick with one tool.
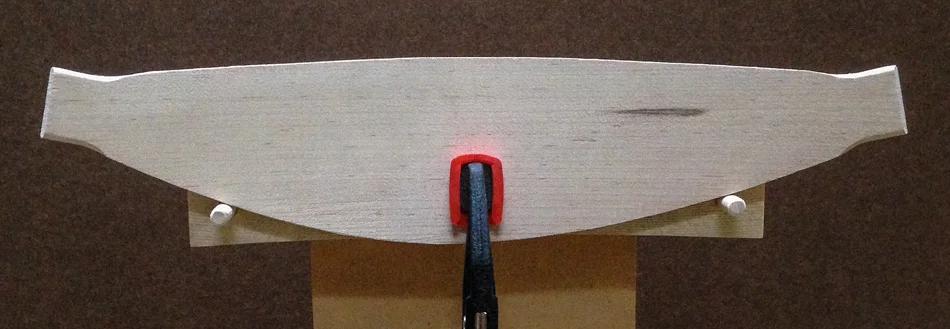
Here is the middle slat clamped in the jig with the bottom edge up. I start by stepping back and evaluating the profile of the edge. On the left side close to the tenon you can see a small bump and overall the profile is not smooth and symmetrical. With the round bottom spokeshave I begin by removing the bump close to the tenon (being very careful not to touch the tenon), then continue by removing the bandsaw marks and fairing out the edge into a continuous, smooth curve. As I work I step back and evaluate what I’ve done. I can also evaluate the profile by placing my entire hand, from the tip of my index finger to my palm, along the edge and feel for bumps and dips.
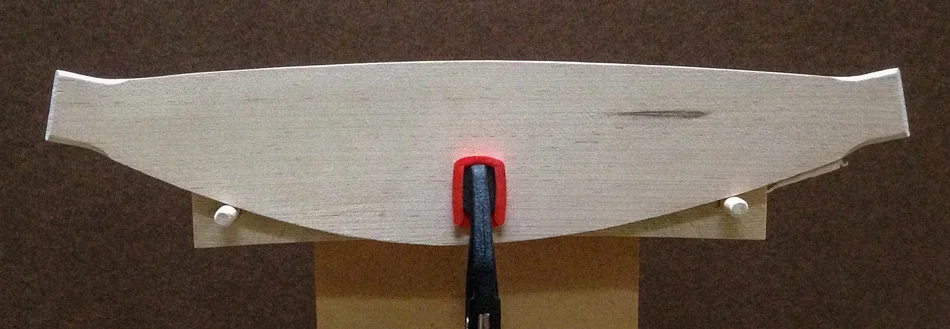
Here is the slat with the bottom edge complete. The profile is a continuous, symmetrical, pleasing curve.
Next, I flip the slat over and evaluate the top profile. This slat is pretty good, but it has a small bump on the left close to the tenon and the left half of the profile is a bit flatter compared to the right half. Part of doing a good job on the slats is training your eye to see these subtle differences.
Here I’ve removed the bump on the left side close to the tenon and shaped the profile on the left side of the slat. I haven’t yet touched the right side of the slat.
Next I shape the profile on the right half of the slat. I’m pretty happy with the result but if you look very closely and compare the right half to the left half you’ll see that the left half is a little flatter.
Here I’ve flattened out the right half a little bit to match the left half. I’m very happy with the symmetry and the overall pleasing shape of the profile of the top edge.
Now I’m ready to cut the bevel on the inside top edge of the slat. I begin by putting a reference mark 5/16″ from the top in the center of the slat.
Using the round bottom spokeshave I cut a bevel straight across the center of the slat. The bottom of the bevel stops at the 5/16″ reference mark. The top of the bevel goes about 2/3 of way back on the top edge of the slat, leaving about 1/3 of the top edge untouched. The angle of this bevel is roughly 60°. As with all the shaping I did on the front and rear legs I want the bevel to be flat across it’s width. The tendency, especially for beginners, is for the bevel to be crowned across it’s width.
Next I continue the bevel along the left edge of the slat. The bevel narrows as it moves towards the tenon forming a beautiful tapered shape.
Then I shape the bevel on the right side and stop when I have a pleasing, symmetrical shape.
Finally I break the sharp edges on both edges along the bottom and the back edge along the top by cutting a tiny chamfer using the spokeshave. One of the great things about the Boggs spokeshave is that you can use it one handed as I am doing here.
Here are the three finished slats.
And a dry fit of the rear panel and slats. Starting to look like a chair!
And here are all the parts I’ve worked on so far. The slats are finished and ready for assembly. The rear legs and front legs are ready for rung mortising. Following rung mortising I will do the final shaping on the tops of the front and rear legs.
In the next post I’ll describe all the tools I use to turn the rungs.
Side Chair Build Series Links:
- Next Post: Turning, Part 1
- Previous Post: Hand Shaping, Part 3 — Rear Legs
