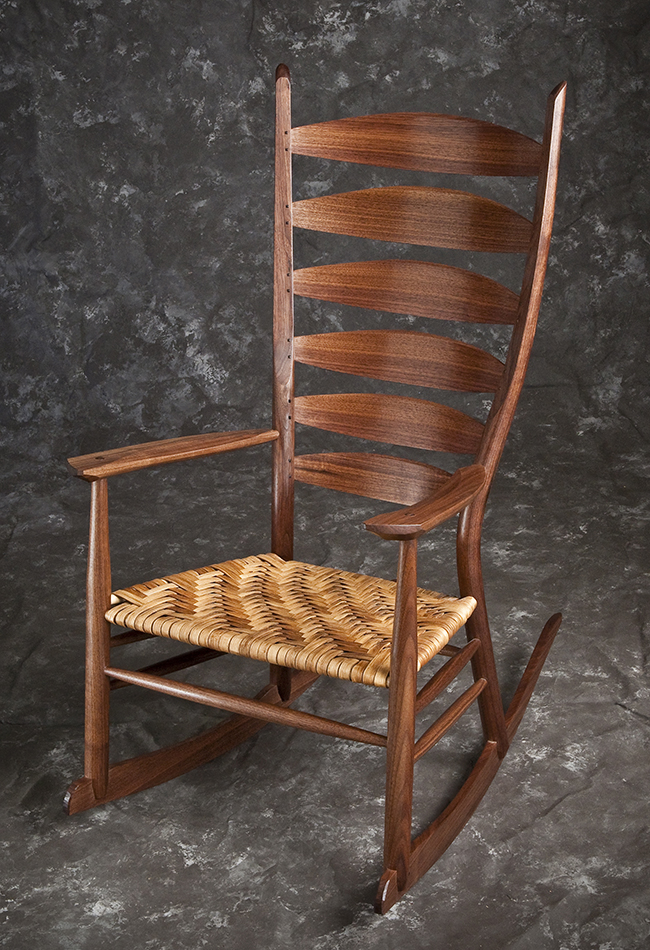
This is an Advanced Class
An heirloom chair where beautiful curves and fine details go hand-in-hand with extraordinary comfort
Building the 6-slat rocking chair is the ultimate achievement for woodworking fans of Brian Boggs. Beautiful and comfortable, it’s a chair you’ll want to sit in every day. And, it’s a chair you’ll want to pass down to your children.
This seven day class will take you, step-by-step, through the process of hand crafting a Brian Boggs designed Rocking Chair. Because class size is limited to three students, you get personalized instruction and can work at your own pace. Every process is broken down into small, manageable steps so that you can concentrate on mastering one task at a time before moving onto the next. Whenever a new process is introduced, especially for hand shaping, you are given the opportunity to practice on spare material before working on your actual chair part. In addition to showing you how, I always explain why, so that you will understand underlying concepts and how each step fits into the big picture.
In this advanced class you’ll build on the skills you acquired in the introductory class. Because of the complexity of this chair the rear legs and slats are steam bent and most parts are rough milled prior to your arrival (these tasks are described in detail in the manual if you want to build this chair in your own shop). This allows you to spend all of your time working on the many parts of this chair — shaping the curved rear legs and slats, mortising for slats and rungs, shaping the arms and runners, assembly with hide glue, and installing and balancing the runners.
Learn how to
Hand shape curved and straight parts using a drawknife, spokeshave and scraper
Prep and turn the front legs
Shape and install the arms
Work with angles and curved parts
Use moisture content and grain orientation to make a long-lasting joint
Assemble using hide glue
Sharpen chairmaking tools
Weave a hickory bark seat
Review how to
Select lumber and mill parts for chairmaking
Steam bend the rear legs and slats
Fully illustrated manual
The class includes an 108 page, fully illustrated manual that documents the process for building your chair from beginning to end. It serves as a step-by-step reminder of the steps taught in class. Because the manual is so complete it minimizes or eliminates the need for you to take notes. This allows you to spend all your class time learning new techniques and working on your chair.
Jigs
The manual includes detailed drawings of every form and jig and you can copy templates for the bending form, slats, arms, and runners.


